before
创建vue项目可以有多种方式,比如通过pycharm或者webstorm这些ide来创建,又或者通过命令行来创建等等,创建命令的细节又有所不同,这里列出几种创建方式。
前提
必须提前安装好nodejs,并且希望nodejs的版本在16.x以上更好。因为有些依赖库依赖更高的nodejs版本。
而如果你的电脑是win7,那么nodejs貌似只能安装到14.x版本吧,像这个14.x的nodejs就不能用vite3。
一些建议
下面列举的几种创建项目的方式,只需要熟练掌握一种即可,对于新手来说,会的姿势越多,反而不容易掌控。
而前端技术迭代很快,比如说现在有vite来代替webpack,但我有朋友就还在搞vue2+webpack,毕竟这些已经比较成熟,不容易出bug。
创建vue项目的几种方式
由于各种webpack、vite的不同,加上vue2和vue3也有所不同,导致创建vue项目的命令有好几种。
# ------- 通过vue init 创建vue2项目 -------
# 此时我用的vue-cli的版本是2.9.6,这还算是低版本的,我们可以通过下面的命令创建vue2的项目
vue init webpack project_name


# ------- 通过vue create 创建vue2项目 -------
# 用这个vue create的话,就要升级vue-cli了,当然,现在叫做vue/cli
	npm uninstall -g vue-cli
	npm install -g @vue/cli
# 我升级后,vue/cli:5.0.8,可以通过vue create命令来创建vue2和vue3的项目了
# 当然,无论是vue init 还是vue create都是vue/cli结合webpack那一套搭建的脚手架用于开发和编译部署
# 后来随着vue3的成熟,vue官网开始推vue3+vite这一套,导致创建项目的命令又有所不同了
# 与此同时(2023.4.12查看官网),vue cli的官网也在提示:
	现在官方推荐使用 create-vue 来创建基于 Vite 的新项目。另外请参考 Vue 3 工具链指南 以了解最新的工具推荐。
	- vue cli的官网:https://cli.vuejs.org/zh/#%E8%B5%B7%E6%AD%A5
	- Vue 3 工具链指南:https://cn.vuejs.org/guide/scaling-up/tooling.html

# 具体的创建命令:
	vue craete project_name      # 然后回车选择创建的是vue2还是vue3


# ------- 通过create vue来创建vue项目 -------
# 具体的创建命令,参考:https://github.com/vuejs/create-vue
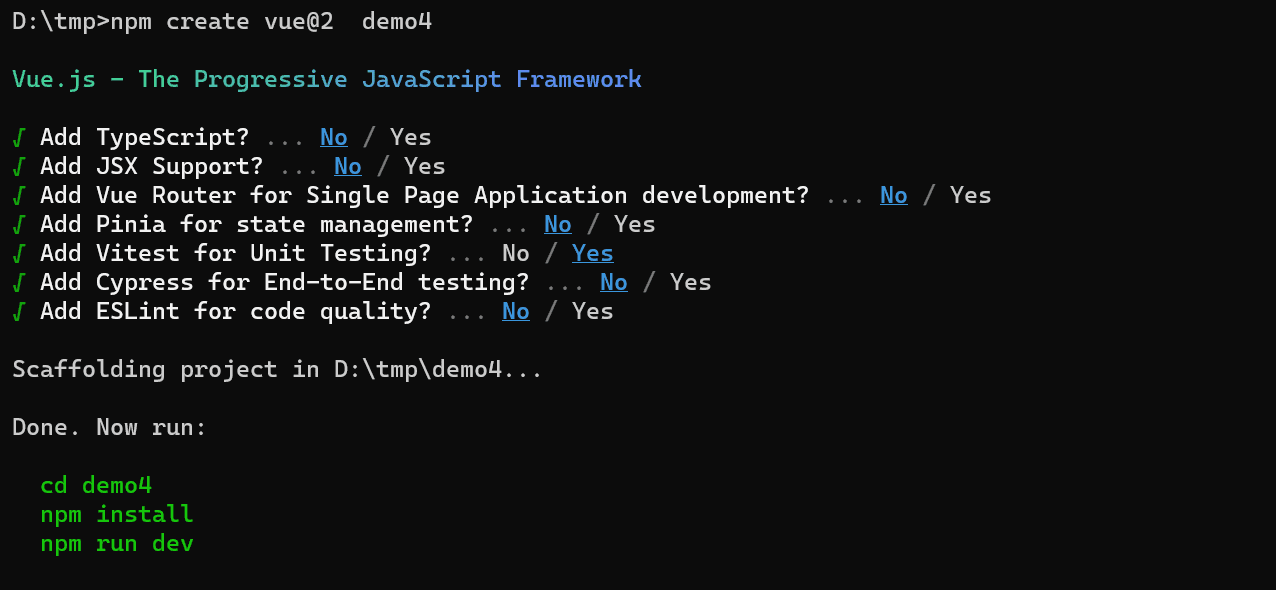
    npm create vue@2  project_name
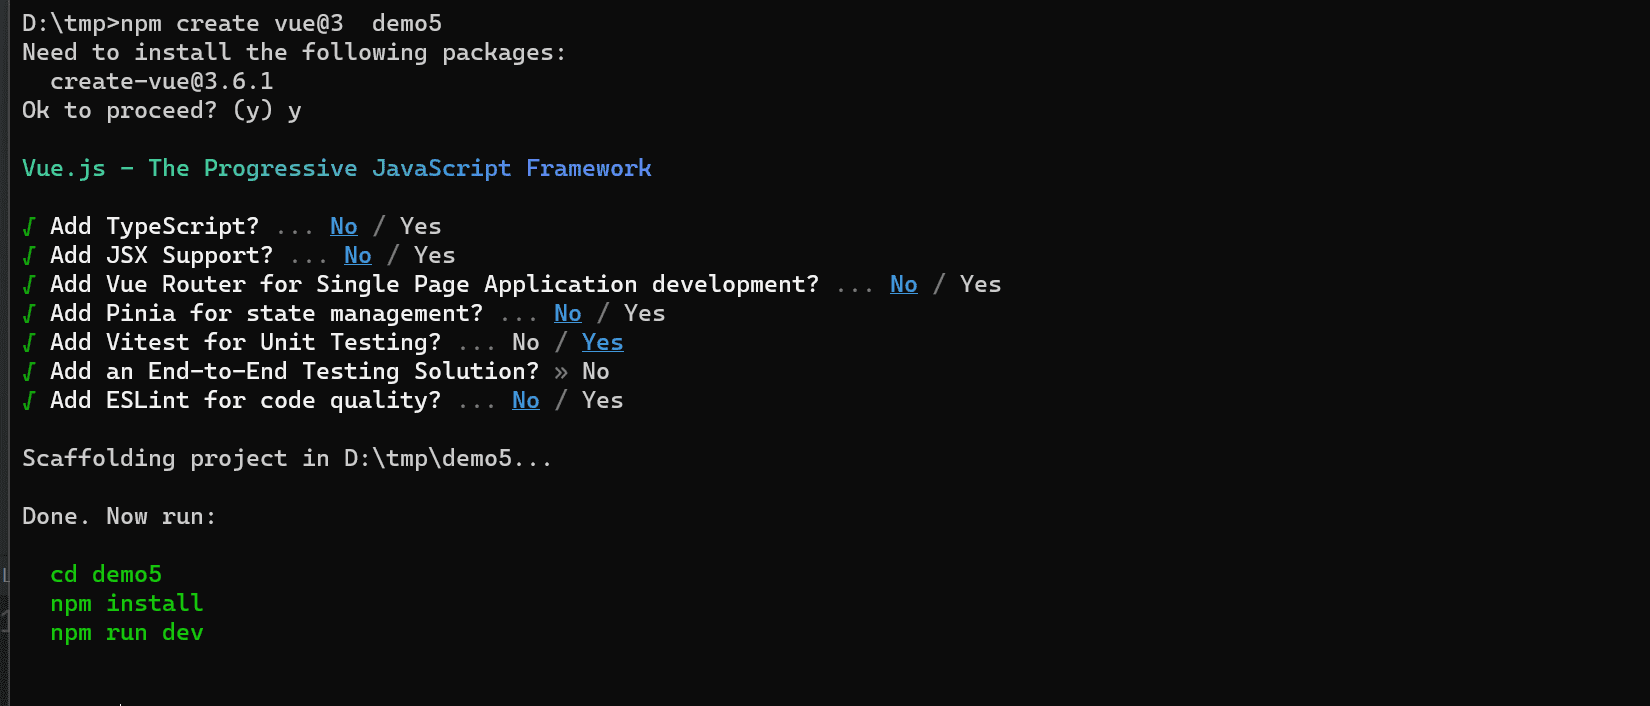
    npm create vue@3  project_name
# 也可以用vite来创建vue3项目:https://cn.vitejs.dev/guide/
	npm create vite@latest
    # npm 6.x
    npm create vite@latest my-vue-app --template vue
    # npm 7+, extra double-dash is needed:
npm create vite@latest my-vue-app -- --template vue至于通过pycharm或者webstorm等ide创建vue项目,我觉得反倒不如这些命令灵活,我通常都是使用命令把项目创建好,然后用ide再打开,效果是一样的,这样的话,最起码通过命令创建项目,过程可控。
使用vue-cli构建vue2项目:vue init
首先要确保你的电脑上装了vue-cli工具
# 下载vue-clie,下载失败,使用cnpm,参考:https://www.cnblogs.com/Neeo/articles/11637320.html#npm%E7%9A%84%E4%BD%BF%E7%94%A8

# 安装(最新版)
npm install -g vue-cli
# 安装(指定版本)
npm install -g @vue/cli@4.5.14

# 测试,返回版本号即安装成功
C:\Users\Anthony>vue -V
2.9.6vue-cli常用的命令:
# 生成一个基于 webpack 模板的新项目
vue init webpack 项目目录名
# 例如:
vue init webpack myproject


# 启动开发服务器 ctrl+c 停止服务
cd myproject
npm run dev # 运行这个命令就可以启动node提供的测试http服务器vue init webpack 命令是vue -cli2.x 版本的初始化方式,启动方式默认为 npm run dev ,webpack 为官方推荐模板。
当你使用vue init构建项目的时候,会有如下几步提示信息:
? Project name vuedemo1,设置项目名称,这一步直接回车,使用默认即可。? Project description A Vue.js project,项目描述,我这也直接回车略过。? Author (zhangkai <xxxxx@163.com>),如果你的电脑上安装了git,这里会默认提取你的git账户名作为作者,我同样回车使用默认。构建项目的方式,通过键盘的上下键切换选项,选中后回车。
? Vue build (Use arrow keys) > Runtime + Compiler: recommended for most users Runtime-only: about 6KB lighter min+gzip, but templates (or any Vue-specific HTML) are ONLY allowed in .vue files - render functions are required elsewhere第一种:指的是运行时生成编译的文件,推荐使用这一种,所以我直接回车。
第二种,每次运行时,再进行转换。
? Install vue-router? No,是否安装vue-router,这里先选择输入no。后面学了vue-router后就可以选择yes了。? Use ESLint to lint your code? No,因为vue推荐使用es6新语法,所以这里提示受否使用ES6的语法检测,这里也先no。? Set up unit tests No,是否安装单元测试工具,选择no。? Setup e2e tests with Nightwatch? No,是否安装e2e测试工具,选择no。安装第三方模块的方式选择, 一般选择前两个,我这里选择nmp:
? Should we run `npm install` for you after the project has been created? (recommended) npm
Yes, use NPM
Yes, use Yarn
No, I will handle that myself
创建项目的细节:
D:\tmp\vuee>vue init webpack vuedemo1

? Project name vuedemo1
? Project description A Vue.js project
? Author zhangkai <tingyuweilou@163.com>
? Vue build standalone
? Install vue-router? No
? Use ESLint to lint your code? No
? Set up unit tests No
? Setup e2e tests with Nightwatch? No
? Should we run `npm install` for you after the project has been created? (recommended) npm

   vue-cli · Generated "vuedemo1".


# Installing project dependencies ...
# ========================

npm WARN deprecated extract-text-webpack-plugin@3.0.2: Deprecated. Please use https://github.com/webpack-contrib/mini-css-extract-plugin
npm WARN deprecated html-webpack-plugin@2.30.1: out of support
npm WARN deprecated uglify-es@3.3.9: support for ECMAScript is superseded by `uglify-js` as of v3.13.0
npm WARN deprecated chokidar@2.1.8: Chokidar 2 will break on node v14+. Upgrade to chokidar 3 with 15x less dependencies.
npm WARN deprecated browserslist@2.11.3: Browserslist 2 could fail on reading Browserslist >3.0 config used in other tools.
npm WARN deprecated bfj-node4@5.3.1: Switch to the `bfj` package for fixes and new features!
npm WARN deprecated core-js@2.6.12: core-js@<3 is no longer maintained and not recommended for usage due to the number of issues. Please, upgrade your dependencies to the ac
tual version of core-js@3.
npm WARN deprecated fsevents@1.2.13: fsevents 1 will break on node v14+ and could be using insecure binaries. Upgrade to fsevents 2.
npm WARN deprecated browserslist@1.7.7: Browserslist 2 could fail on reading Browserslist >3.0 config used in other tools.
npm WARN deprecated resolve-url@0.2.1: https://github.com/lydell/resolve-url#deprecated
npm WARN deprecated urix@0.1.0: Please see https://github.com/lydell/urix#deprecated

> core-js@2.6.12 postinstall D:\tmp\vuee\vuedemo1\node_modules\core-js
> node -e "try{require('./postinstall')}catch(e){}"

Thank you for using core-js ( https://github.com/zloirock/core-js ) for polyfilling JavaScript standard library!

The project needs your help! Please consider supporting of core-js on Open Collective or Patreon:
> https://opencollective.com/core-js
> https://www.patreon.com/zloirock

Also, the author of core-js ( https://github.com/zloirock ) is looking for a good job -)


> ejs@2.7.4 postinstall D:\tmp\vuee\vuedemo1\node_modules\ejs
> node ./postinstall.js

Thank you for installing EJS: built with the Jake JavaScript build tool (https://jakejs.com/)


> uglifyjs-webpack-plugin@0.4.6 postinstall D:\tmp\vuee\vuedemo1\node_modules\webpack\node_modules\uglifyjs-webpack-plugin
> node lib/post_install.js

npm notice created a lockfile as package-lock.json. You should commit this file.
npm WARN optional SKIPPING OPTIONAL DEPENDENCY: fsevents@~2.3.1 (node_modules\chokidar\node_modules\fsevents):
npm WARN notsup SKIPPING OPTIONAL DEPENDENCY: Unsupported platform for fsevents@2.3.2: wanted {"os":"darwin","arch":"any"} (current: {"os":"win32","arch":"x64"})
npm WARN optional SKIPPING OPTIONAL DEPENDENCY: fsevents@^1.2.7 (node_modules\watchpack-chokidar2\node_modules\chokidar\node_modules\fsevents):
npm WARN notsup SKIPPING OPTIONAL DEPENDENCY: Unsupported platform for fsevents@1.2.13: wanted {"os":"darwin","arch":"any"} (current: {"os":"win32","arch":"x64"})
npm WARN optional SKIPPING OPTIONAL DEPENDENCY: fsevents@^1.2.7 (node_modules\webpack-dev-server\node_modules\chokidar\node_modules\fsevents):
npm WARN notsup SKIPPING OPTIONAL DEPENDENCY: Unsupported platform for fsevents@1.2.13: wanted {"os":"darwin","arch":"any"} (current: {"os":"win32","arch":"x64"})
npm WARN ajv-keywords@3.5.2 requires a peer of ajv@^6.9.1 but none is installed. You must install peer dependencies yourself.

added 1273 packages from 675 contributors and audited 1280 packages in 186.768s

46 packages are looking for funding
  run `npm fund` for details

found 17 vulnerabilities (3 low, 8 moderate, 6 high)
  run `npm audit fix` to fix them, or `npm audit` for details

# Project initialization finished!
# ========================

To get started:

  cd vuedemo1
  npm run dev

Documentation can be found at https://vuejs-templates.github.io/webpack项目创建完成,就可以进入项目目录,使用npm run dev命令来启动测试服务器:
D:\tmp\vuee>cd vuedemo1

D:\tmp\vuee\vuedemo1>npm run dev

> vuedemo1@1.0.0 dev D:\tmp\vuee\vuedemo1
> webpack-dev-server --inline --progress --config build/webpack.dev.conf.js

 13% building modules 25/29 modules 4 active ...ex=0!D:\tmp\vuee\vuedemo1\src\App.vue{ parser: "babylon" } is deprecated; we now treat it as { parser: "babel" }.
 95% emitting

 DONE  Compiled successfully in 2130ms                                                                                                                               16:14:38

I Your application is running here: http://localhost:8080现在,浏览器就可以访问了:
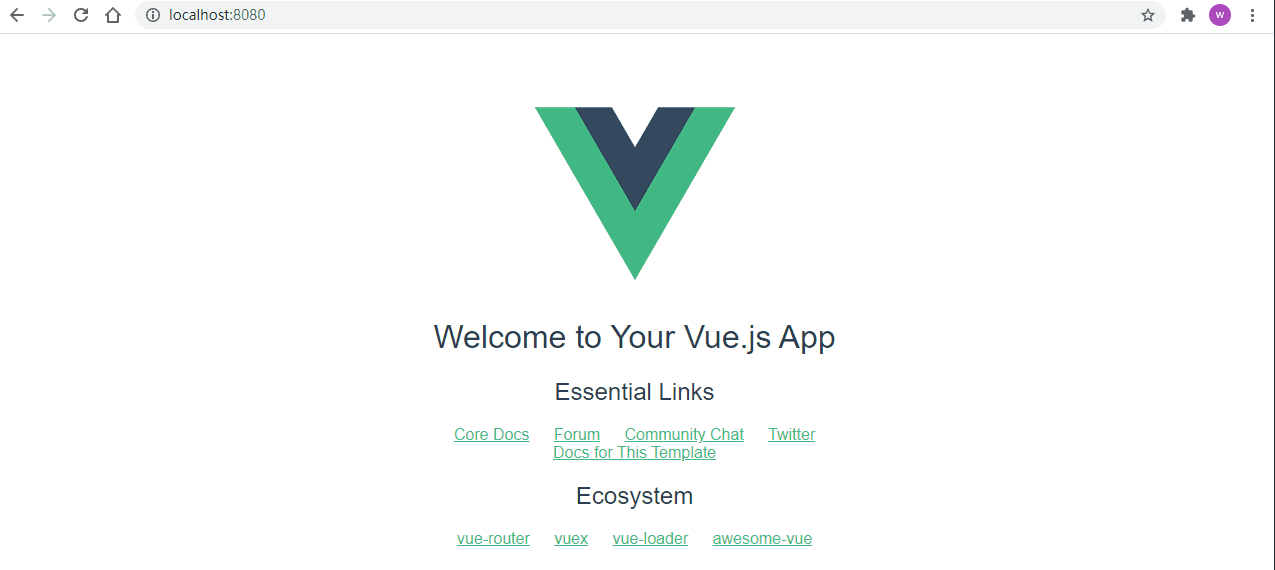
到这一步就说明,vue-cli脚手架环境配置完毕,创建项目也没问题,后续就可以愉快的进行组件化开发了。
使用vue-cli构建vue2和3项目:vue create
vue create:vue -cli3.x 版本的初始方式 ,启动方式默认为 npm run serve
如果在执行vue create时,提示如下内容,那么就按照提示重新安装下高版本的vue/cli就行了。
D:\tmp>npm uninstall -g vue-cli

removed 230 packages in 1s

D:\tmp>npm install -g @vue/cli
npm WARN deprecated source-map-url@0.4.1: See https://github.com/lydell/source-map-url#deprecated
npm WARN deprecated urix@0.1.0: Please see https://github.com/lydell/urix#deprecated
npm WARN deprecated source-map-resolve@0.5.3: See https://github.com/lydell/source-map-resolve#deprecated
npm WARN deprecated resolve-url@0.2.1: https://github.com/lydell/resolve-url#deprecated
.......

added 856 packages in 58s

D:\tmp>vue -V
@vue/cli 5.0.81. 基于vue create创建vue项目
提示从https://registry.npmmirror.com这个仓库进行快速安装,这里我选择了n,当然,下次再执行vue create命令时,就不会再提示这个了。
D:\tmp>vue create demo2
?  Your connection to the default npm registry seems to be slow.
Use https://registry.npmmirror.com for faster installation? No2. 下面提示选择创建vue2还是vue3的项目时,通过键盘上下键可以选择, 然后回车确认,后续都是自动完成的了
我这里选择vue3,当然vue2的项目选择vue2即可,除了在这里进行确定vue2还是vue3之外,其他部分都不变。
D:\tmp>vue create demo2
?  Your connection to the default npm registry seems to be slow.
   Use https://registry.npmmirror.com for faster installation? No


Vue CLI v5.0.8
? Please pick a preset: (Use arrow keys)
> Default ([Vue 3] babel, eslint)
  Default ([Vue 2] babel, eslint)
  Manually select features
D:\tmp>

D:\tmp>

D:\tmp>

D:\tmp>vue create demo2


Vue CLI v5.0.8
? Please pick a preset: Default ([Vue 3] babel, eslint)


Vue CLI v5.0.8
✨  Creating project in D:\tmp\demo2.
⚙️  Installing CLI plugins. This might take a while...


added 856 packages, and audited 857 packages in 40s

92 packages are looking for funding
  run `npm fund` for details

found 0 vulnerabilities
🚀  Invoking generators...
📦  Installing additional dependencies...


added 102 packages, and audited 959 packages in 10s

104 packages are looking for funding
  run `npm fund` for details

found 0 vulnerabilities
⚓  Running completion hooks...

📄  Generating README.md...

🎉  Successfully created project demo2.
👉  Get started with the following commands:

 $ cd demo2
$ npm run serve基于create-vue创建vue2
参考:https://github.com/vuejs/create-vue
基于create-vue创建vue3
参考:https://github.com/vuejs/create-vue
基于vite直接创建vue项目
vite中文文档:https://cn.vitejs.dev/
关于node版本
Vite 需要 Node.js 版本 14.18+,16+。然而,有些模板需要依赖更高的 Node 版本才能正常运行,当你的包管理器发出警告时,请注意升级你的 Node 版本。
下载安装
不需要下载安装!!!
使用vite+vue创建vue项目
这家伙依赖npm版本,不同版本命令不太一样:
# npm 6.x
npm create vite@latest my-vue-app --template vue

# npm 7+, 需要额外的加两个短横线:
npm create vite@latest my-vue-app -- --template vue

# yarn
yarn create vite my-vue-app --template vue

# pnpm
pnpm create vite my-vue-app --template vue来个示例:
# 首先确认下nodejs和npm的版本
D:\tmp\studyvue3>node -v
v18.15.0

D:\tmp\studyvue3>npm -v
9.5.0


# 1. 创建vue项目
# 我的npm版本是7+,所以,我可以在命令行执行下面的命令,创建一个名为 v3d1 的vue项目
D:\tmp\studyvue3>npm create vite@latest v3d1 -- --template vue
Need to install the following packages:
  create-vite@5.1.0
Ok to proceed? (y)    # 遇到这个提示就输入 y 然后回车,没有这个提示的话,就不用管,继续往下走流程就好了
Scaffolding project in D:\tmp\studyvue3\v3d1...

Done. Now run:

  cd v3d1
  npm install
  npm run dev


# 2. 按照要求cd到项目根目录去,然后安装该项目的依赖
D:\tmp\studyvue3>cd v3d1

D:\tmp\studyvue3\v3d1>npm install

added 32 packages in 2s


# 3. 启动vue项目,默认监听的是本机5173端口
D:\tmp\studyvue3\v3d1>npm run dev

> v3d1@0.0.0 dev
> vite


  VITE v3.1.3  ready in 309 ms

  ➜  Local:   http://127.0.0.1:5173/
  ➜  Network: use --host to expose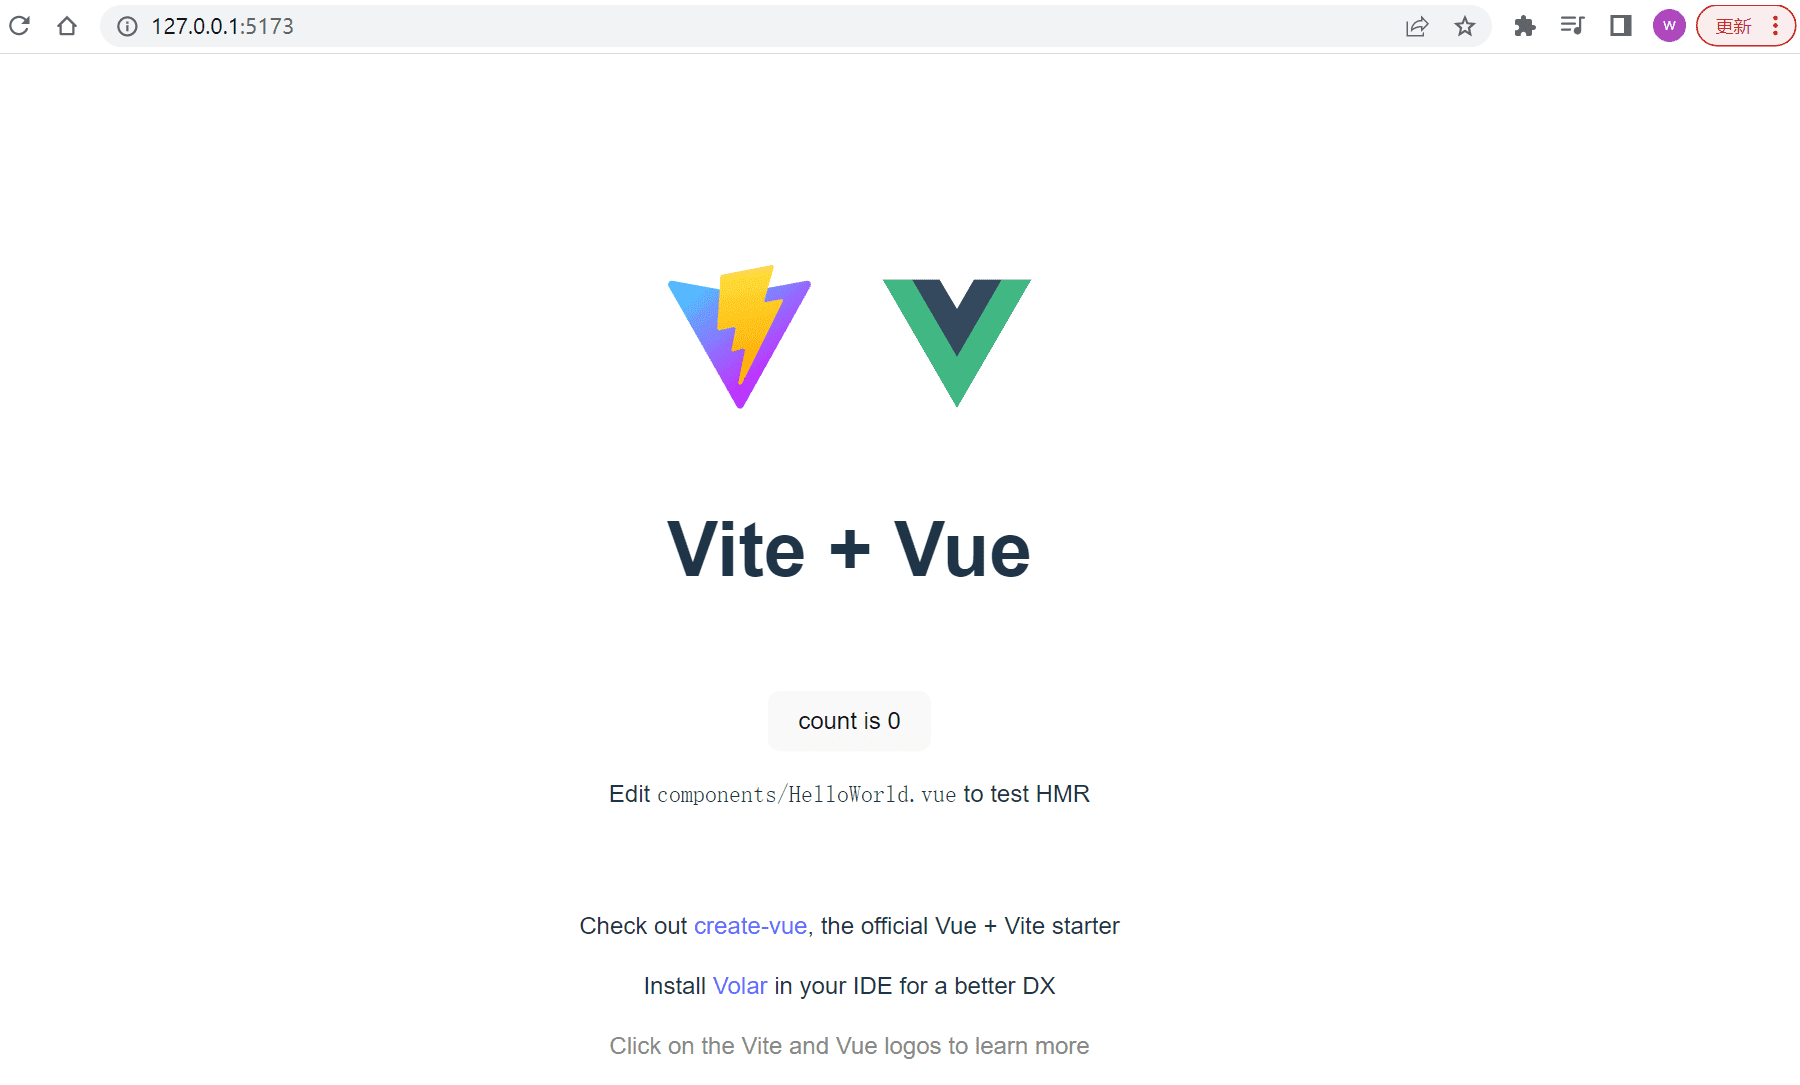
额外的,如果你想指定端口启动,可以修改vue项目根目录下的vite.config.js:
import { defineConfig } from 'vite'
import vue from '@vitejs/plugin-vue'

// https://vitejs.dev/config/
export default defineConfig({
  plugins: [vue()],
  server: {
    host: "0.0.0.0",
    port: 8822,
    open: true, // 启动后是否自动在浏览器中打开
  }
})然后执行npm run dev启动就行了,如果是在项目运行时修改的,会自动重启,超级快!
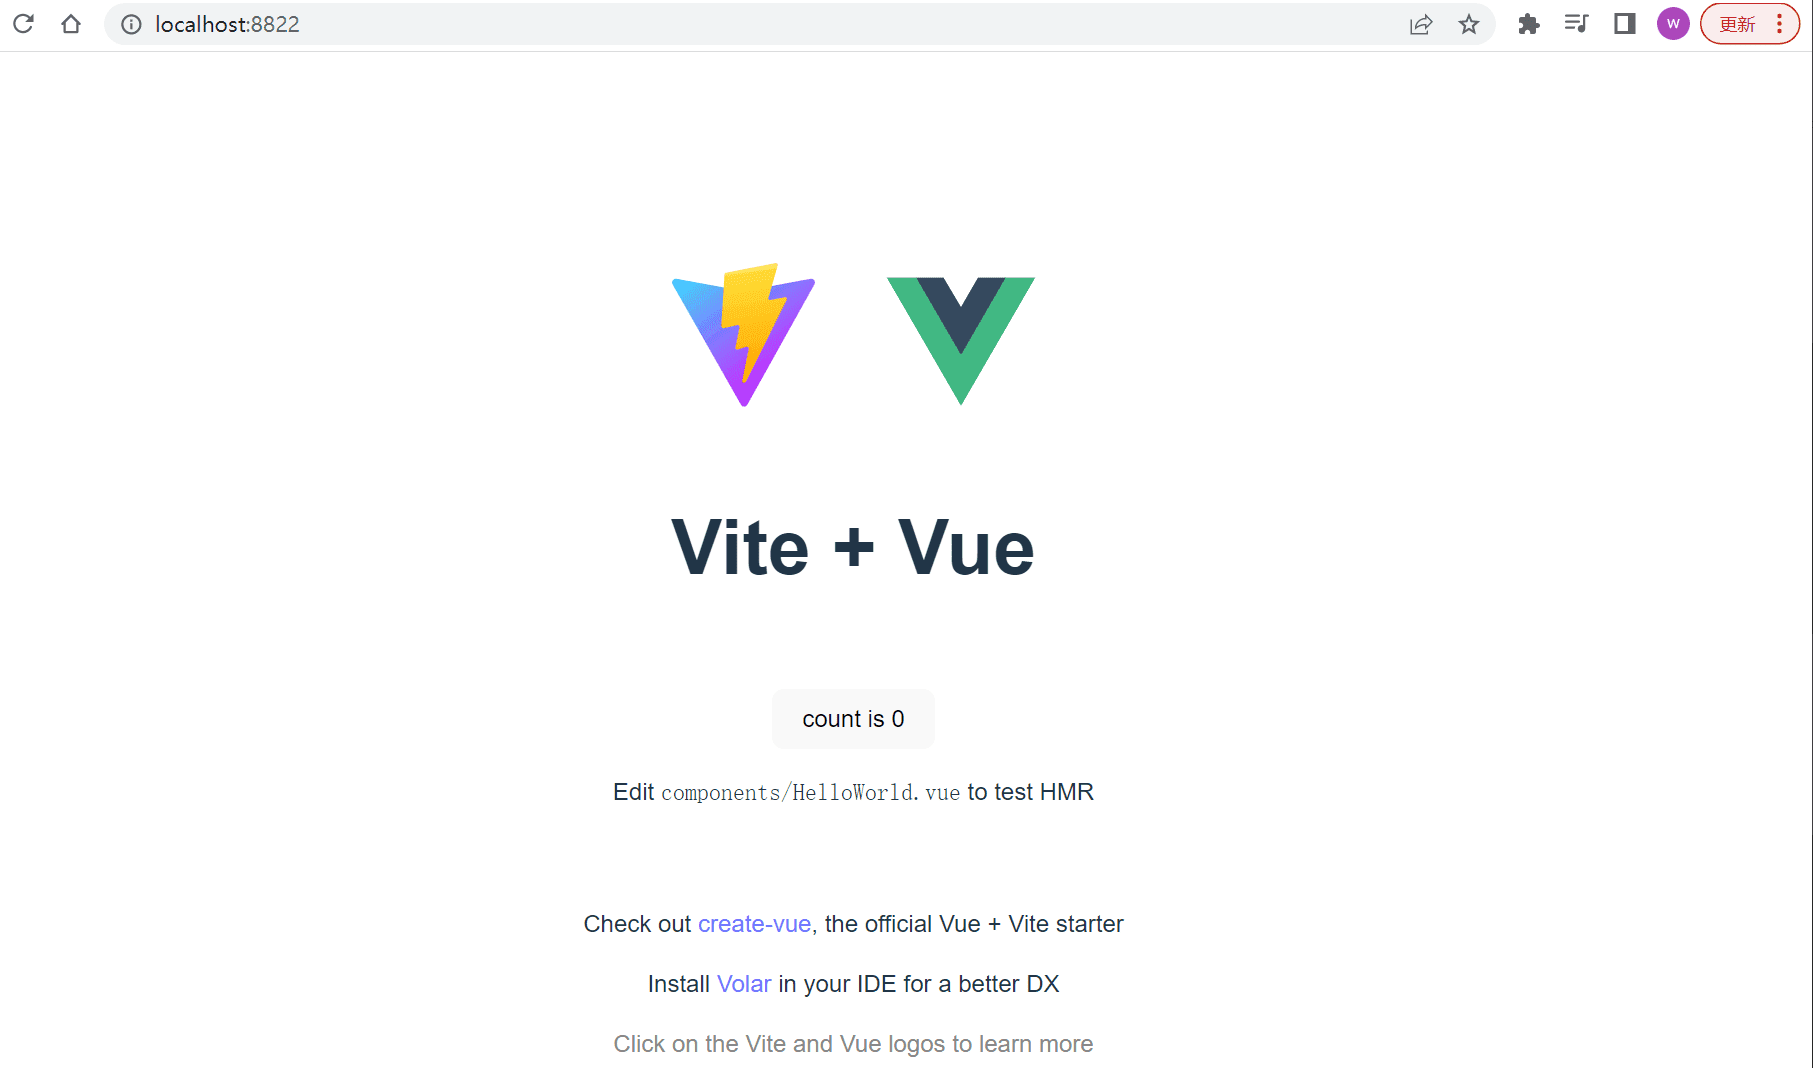
后续的代码,我基本上都会在这个项目中进行演示,毕竟不用来回手动刷新页面了。