 王张开
王张开nginx for centos7
安装
下载依赖
bash
yum update -y
yum -y install gcc gcc-c++ pcre pcre-devel  zlib zlib-devel openssl openssl-devel libxml2-devel libxslt-devel gd-devel GeoIP-devel jemalloc-devel libatomic_ops-devel perl-devel  perl-ExtUtils-Embed

#安装Nginx需要先将官网下载的源码进行编译,依赖gcc环境

#PCRE是一个perl库,包括perl兼容的正则表达式库。Nginx的http模块使用pcre库来解析正则表达式

#zlib库提供很多种压缩解压缩方式,Nginx使用zlib对http包的内容进行gzip

#OpenSSL是一个强大的安全套接字层密码库,囊括主要的密码算法、常用的秘钥和证书封装管理功能及
SSL协议,并提供丰富的应用程序供测试或其它目的使用。Nginx不仅支持http协议,还支持HTTPS协议
(即在SSL协议上传输http)。下载
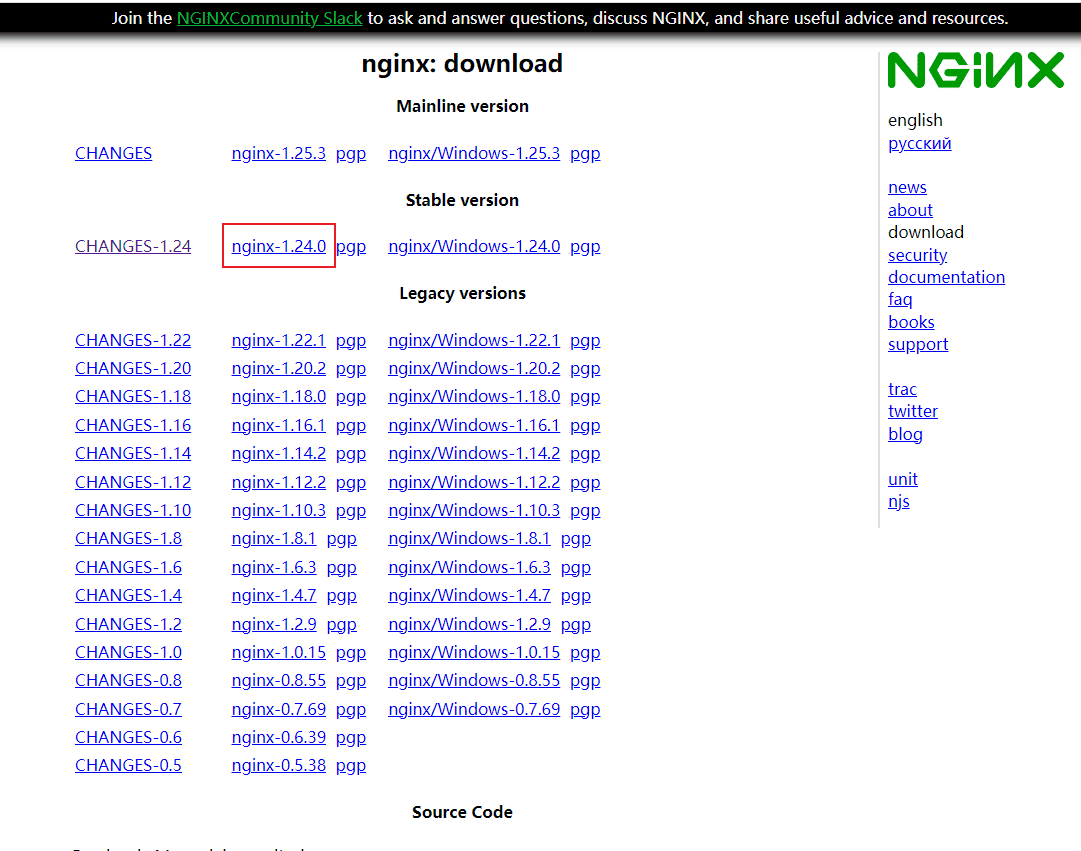
去这个链接:https://nginx.org/en/download.html
bash
cd /opt
wget https://nginx.org/download/nginx-1.24.0.tar.gz
ls

[root@cs opt]# ls
nginx-1.24.0.tar.gz解压
bash
cd /opt
tar -zxvf nginx-1.24.0.tar.gz编译安装,我按照方式3走的
注意:nginx的解压目录和编译目录不能是同一文件夹。
方式1:一切都安装默认安装:
bash
cd /opt/nginx-1.24.0
./configure && make && make install

# 这种方式nginx的安装目录为/usr/local/nginx方式2:按照默认编译,并且指定安装目录:
bash
cd /opt
mkdir nginx
cd /opt/nginx-1.24.0
./configure --prefix=/opt/nginx方式3:编译所有的功能模块,并且指定安装目录:
bash
cd /opt
mkdir nginx
cd /opt/nginx-1.24.0
./configure --prefix=/opt/nginx \
    --with-threads \
    --with-file-aio \
    --with-http_ssl_module \
    --with-http_v2_module \
    --with-http_realip_module \
    --with-http_addition_module \
    --with-http_xslt_module=dynamic \
    --with-http_image_filter_module=dynamic \
    --with-http_geoip_module=dynamic \
    --with-http_sub_module \
    --with-http_dav_module \
    --with-http_flv_module \
    --with-http_mp4_module \
    --with-http_gunzip_module \
    --with-http_gzip_static_module \
    --with-http_auth_request_module \
    --with-http_random_index_module \
    --with-http_secure_link_module \
    --with-http_degradation_module \
    --with-http_slice_module \
    --with-http_stub_status_module \
    --with-stream=dynamic \
    --with-stream_ssl_module \
    --with-stream_realip_module \
    --with-stream_geoip_module=dynamic \
    --with-stream_ssl_preread_module \
    --with-compat  \
--with-pcre-jit没有报错的情况:
bash
Configuration summary
  + using threads
  + using system PCRE library
  + using system OpenSSL library
  + using system zlib library

  nginx path prefix: "/opt/nginx"
  nginx binary file: "/opt/nginx/sbin/nginx"
  nginx modules path: "/opt/nginx/modules"
  nginx configuration prefix: "/opt/nginx/conf"
  nginx configuration file: "/opt/nginx/conf/nginx.conf"
  nginx pid file: "/opt/nginx/logs/nginx.pid"
  nginx error log file: "/opt/nginx/logs/error.log"
  nginx http access log file: "/opt/nginx/logs/access.log"
  nginx http client request body temporary files: "client_body_temp"
  nginx http proxy temporary files: "proxy_temp"
  nginx http fastcgi temporary files: "fastcgi_temp"
  nginx http uwsgi temporary files: "uwsgi_temp"
nginx http scgi temporary files: "scgi_temp"接下来进行编译安装:
bash
cd /opt/nginx-1.24.0
make -j$(nproc) && make install -j$(nproc)看下安装目录:
bash
cd /opt/nginx
ls

[root@cs nginx]# ls
client_body_temp  fastcgi_temp  logs     proxy_temp  scgi_temp
conf html modules sbin uwsgi_temp在nginx的安装目录中:
- conf:存放nginx配置文件目录
- logs:存放nginx日志目录
- sbin:存放nginx可执行脚本目录
- html:存放nginx的网站站点,静态资源的目录
知道主要的目录作用,我们也就可以启动nginx了。
bash
cd /opt/nginx/sbin
./nginx
ps -ef|grep nginx

[root@cs sbin]# ps -ef|grep nginx
root      39441      1  0 22:37 ?        00:00:00 nginx: master process ./nginx
nobody    39442  39441  0 22:37 ?        00:00:00 nginx: worker process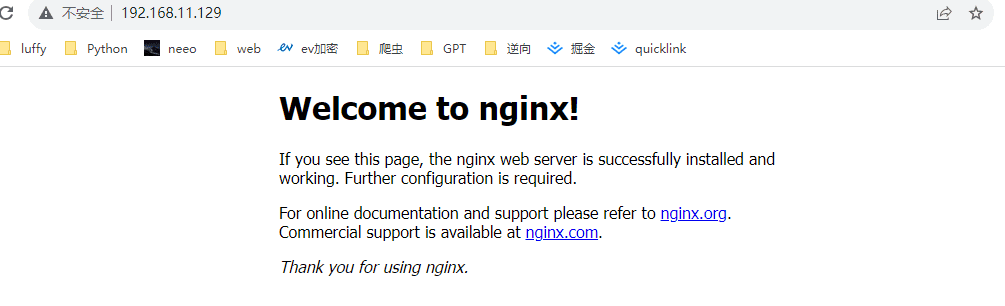
root 39444 73894 0 22:37 pts/1 00:00:00 grep --color=auto nginx浏览器直接访问你的ip地址就可以看到了:
如果想要在任意目录输入nginx即可启动,那还需要配置nginx的环境变量。
配置nginx环境变量
bash
echo "export PATH=/opt/nginx/sbin:\$PATH" >> /etc/profile
cat /etc/profile
source /etc/profile此时,就可以在任意位置启动nginx了。
配置启动方式
直接nginx命令启动
bash
# 直接输入nginx来启动,但只能首次启动nginx使用,因为重复启动的话,会提示80端口已被占用
nginx

# 查看nginx相关进程
ps -ef | grep nginx

# 查看NGINX监听的端口
netstat -tunlp | grep nginx

# 平滑重启nginx,也就是重新读取nginx的配置文件,而不是重启进程
nginx -s reload

# 确认nginx配置文件是否争取的
nginx -t
# 停止nginx, 杀死nginx进程
nginx -s stop配置systemctl管理nginx
systemd 配置文件说明:
- 每一个 Unit 都需要有一个配置文件用于告知 systemd 对于服务的管理方式
- 配置文件存放于 /usr/lib/systemd/system/,设置开机启动后会在 /etc/systemd/system 目录建立软链接文件
- 每个Unit的配置文件配置默认后缀名为.service
- 在 /usr/lib/systemd/system/ 目录中分为 system 和 user 两个目录,一般将开机不登陆就能运行的程序存在系统服务里,也就是 /usr/lib/systemd/system
- 配置文件使用方括号分成了多个部分,并且区分大小写
我们来配置下:
bash
cat >/lib/systemd/system/nginx.service<<EOF
[Unit]
Description=nginx
After=network.target

[Service]
Type=forking
ExecStartPre=/opt/nginx/sbin/nginx -t -c /opt/nginx/conf/nginx.conf
ExecStart=/opt/nginx/sbin/nginx -c /opt/nginx/conf/nginx.conf
ExecReload=/opt/nginx/sbin/nginx -s reload
ExecStop=/opt/nginx/sbin/nginx -s stop
PrivateTmp=true
[Install]
WantedBy=multi-user.target
EOF
cat /lib/systemd/system/nginx.service
systemctl daemon-reload解释版:
bash
cat >/lib/systemd/system/nginx.service<<EOF
[Unit]     # 记录service文件的通用信息
Description=nginx    # Nginx服务描述信息
After=network.target    # Nginx服务启动依赖,在指定服务之后启动
[Service]    # 记录service文件的service信息
Type=forking    # 标准UNIX Daemon使用的启动方式
ExecStartPre=/opt/nginx/sbin/nginx -t -c /opt/nginx/conf/nginx.conf
ExecStart=/opt/nginx/sbin/nginx -c /opt/nginx/conf/nginx.conf
ExecReload=/opt/nginx/sbin/nginx -s reload
ExecStop=/opt/nginx/sbin/nginx -s stop
PrivateTmp=true
[Install]    # 记录service文件的安装信息
WantedBy=multi-user.target    # 多用户环境下启用
EOF
cat /lib/systemd/system/nginx.service然后执行如下命令:
bash
pkill nginx
systemctl daemon-reload
systemctl start nginx
systemctl status nginx
systemctl stop nginx